Create a virtual whiteboard with Roboflow vision models
Getting started
This project is an AI-powered virtual whiteboard where you can draw using gestures. The AI models were created using Roboflow, and it integrates with OpenAI's GPT-4o model to solve formulas written on the whiteboard. To get started, fork the template below:
Create an OpenAI API Key #
The first step is to sign up for one OpenAI account. Then proceed to directly the API key page, and create an API Key. Once you have your API Key, go back to your project on Replit.
Under "Tools", you will see a tool called "Secrets."
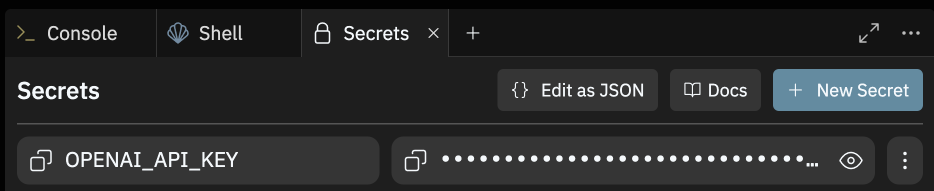
Open the Secrets pane and paste in your API key to the Secret labeled OPENAI_API_KEY.
Create an Roboflow API Key #
Sign up for a free Roboflow account at roboflow.com.
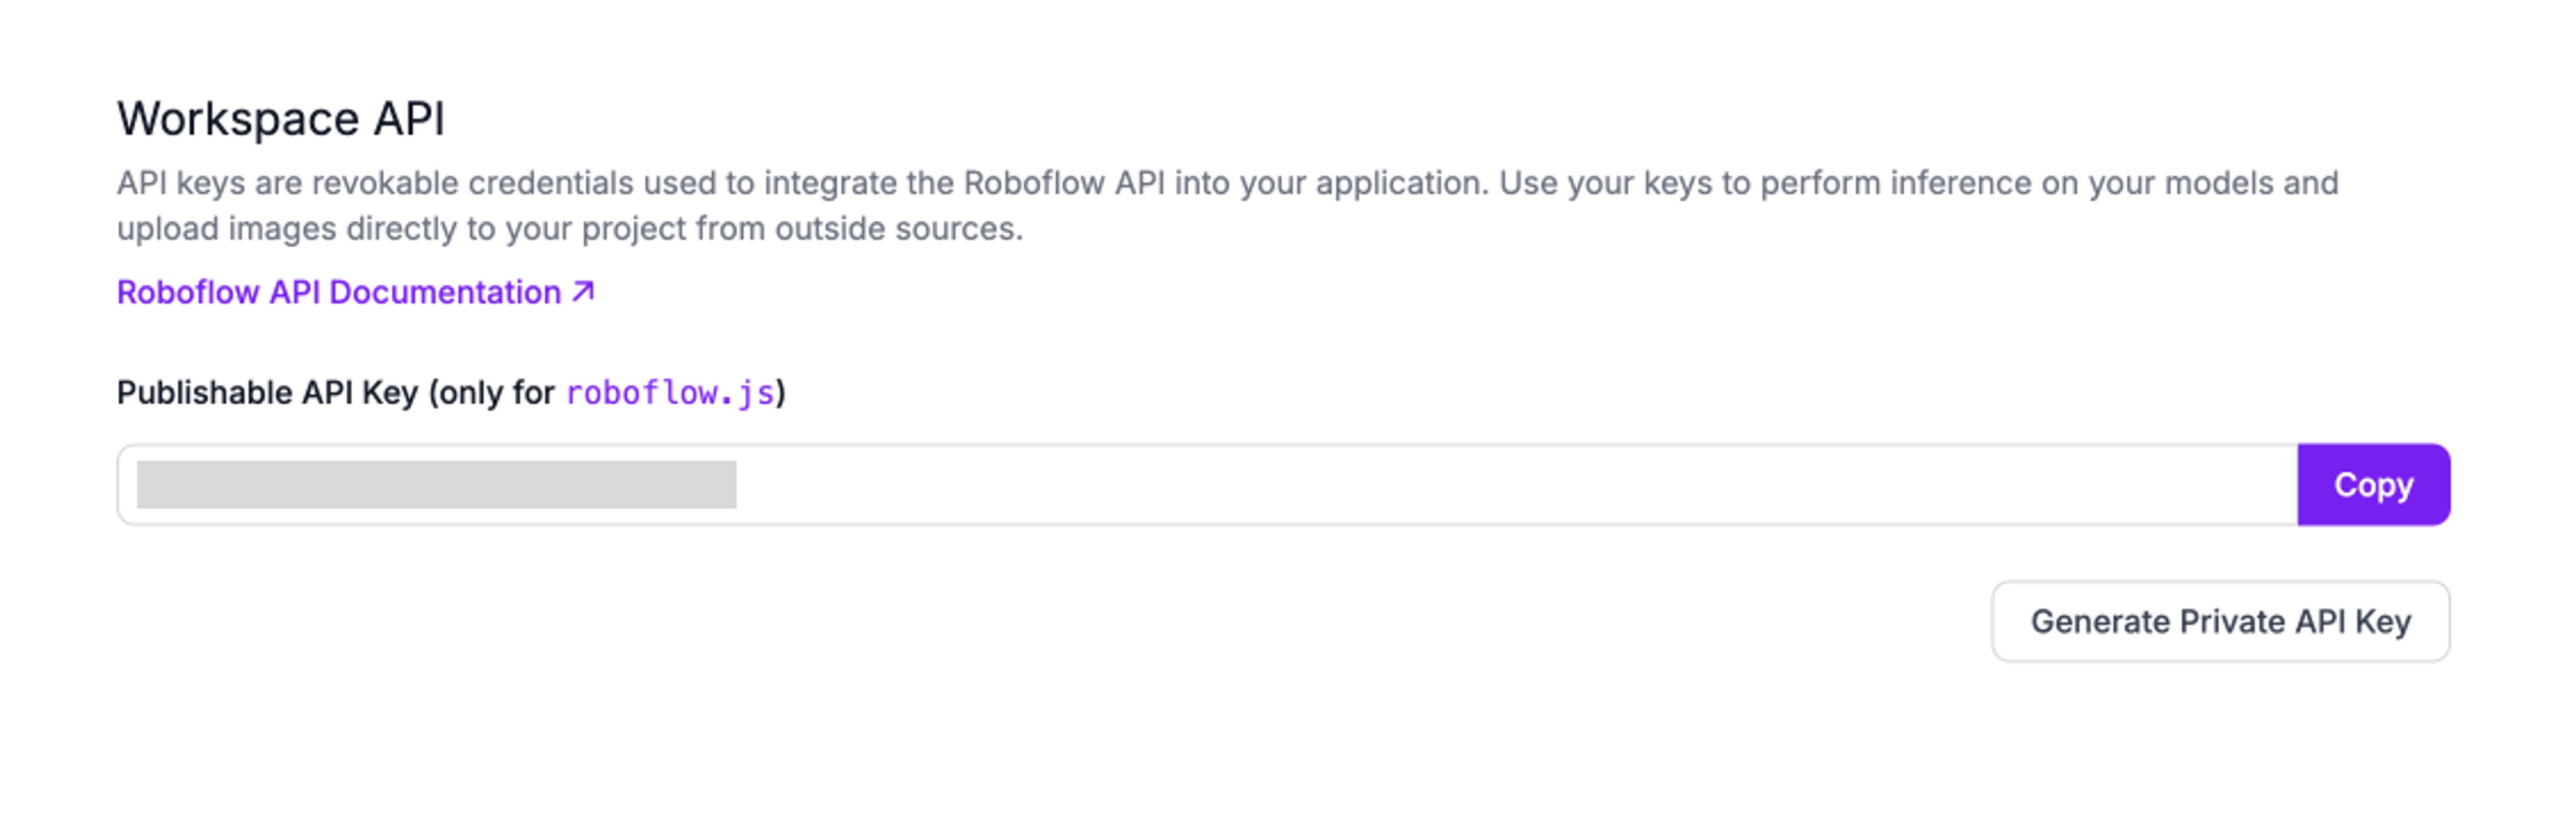
Then go to the API key page, and click “Generate Private API Key.” Copy and paste the key and paste into the Secrets pane.
Run the application #
Once the API Keys are inputted, you can click “Run”, and the Repl should prompt you to “Allow” access to your webcam. Allow access. Then the webcam and whiteboard should appear!
If you would like to understand the code step-by-step, continue to the next section.
Building the application
Importing the libraries #
The first step is to import the relevant libraries needed to run this application. For example, to use OpenAI models, we need access to the OpenAI created library.
Initialize Flask and route homepage #
First, we need to initialize the Flask server with app = Flask(__name__). Then we will create the homepage with route /. This will define what occurs at the homepage. For example, if your website is example.com, then this defines the content at example.com/.
The line return render_template(“index.html” tells the homepage to render with the index.html defined in the static folder. If you would like to adjust the design of the webpage, then alter the index.html file.
ROBOFLOW_API_KEY=os.environ.get("ROBOFLOW_API_KEY")
The os.environ.get loads the API Key we stored in the Secrets pane. This allows us to securely connect to your Roboflow account. The Roboflow model will do the vision modeling.
Set up OpenAI connection #
We want the whiteboard to answer math equations for us. For this, we are using an OpenAI model.
The code block above defines a function for asking OpenAI. It stores the image from Roboflow in image_data, and then sends it to OpenAI (in this case gpt-4o) asking it to send back the solution. This function should trigger when you use the Victory sign. Test it out!
Deploy your application #
This last part is critical. Your webview URL will be a replit.dev URL. These URLs are used for quick iteration, but the website will be taken down ~30 minutes after you log out.
If you would like to share the project, you need to deploy it. To do this, go to the top-right corner, and click “Deploy.”
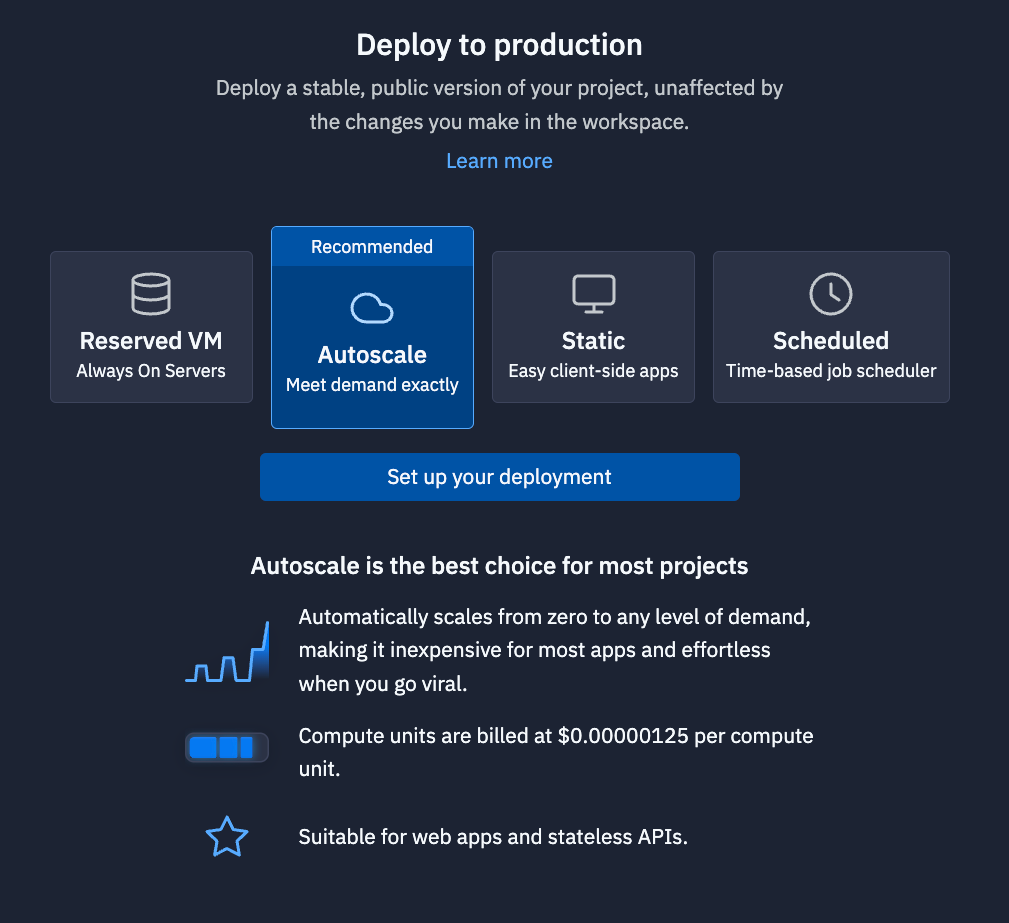
The deployments pane will emerge. For this deployment, we recommend “Autoscale.” Autoscale deployments will scale to zero when it is not used, so you will not be billed for resources. It will, however, scale up if your application goes viral, so your website does not go down.
Click “Set up your deployment.” Choose your configurations. The defaults are probably fine. Customize your domain if you would like. Then deploy your project. After a few minutes, you will receive a replit.app domain that you can share with people.
What’s next?
You can iterate on this application in two ways. First, try altering the index.html page, so you can make a custom design!
Second, check out other Roboflow models, or their company profile for other project options.